Menu
Menu|
|

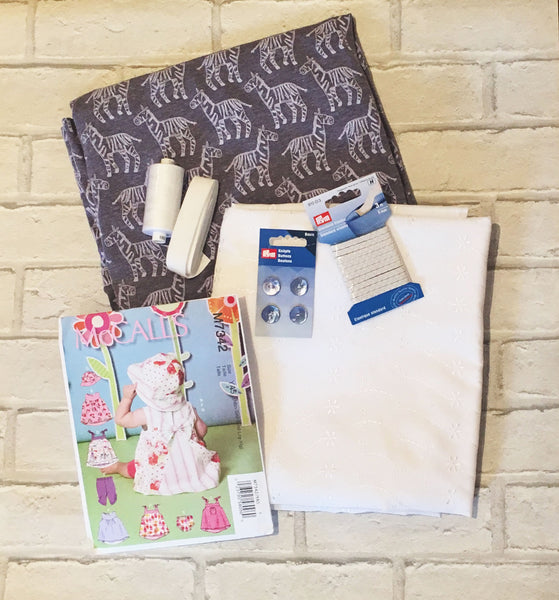
Little lady has been eyeing up the cute Zebra cotton jersey fabric for a while now so I went looking for a pattern to use it. I loved the ruched leggings on McCall’s M7342 and the hat was going to be perfect for the summer (if it ever arrives). Nothing shouts summer more than Broderie Anglais in white and I thought that would be perfect for the dress and hat. Other notions I used are Moon thread white, 5mm Standard Elastic and Mother of pearl buttons.
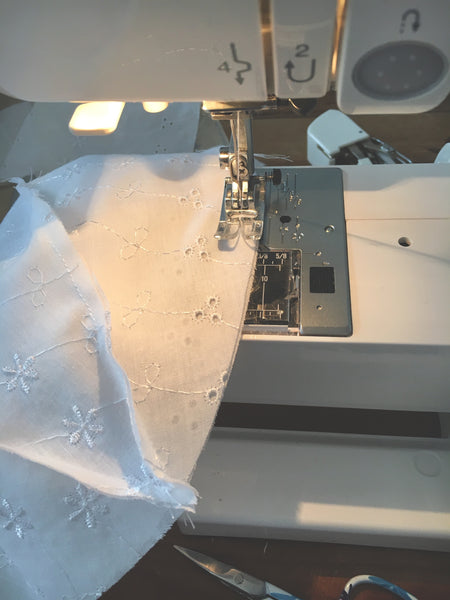
I started off with the hat as I’d recently made one which my daughter loved and she was keen to have another. It was easy to put together. We needed 12 triangles and 2 brims.

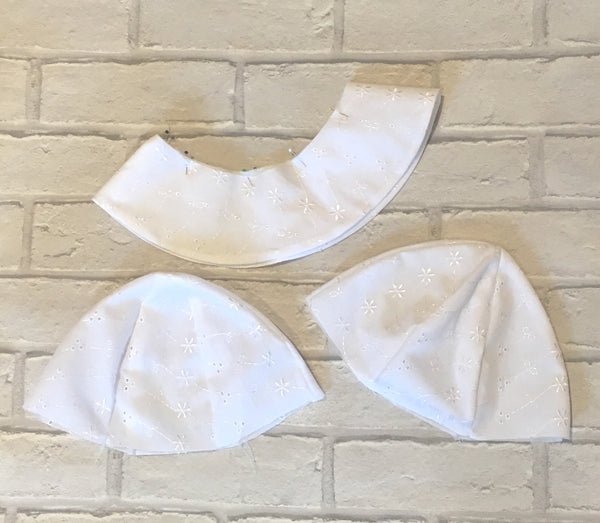
Sew the 2 brims together on the outer edge. Join 3 lots of triangles together x 2 then sew the 2 halves together.
Repeat for the lining and you end up with 1 brim, an inner hat and outer hat.
Attach the outer hat to the brim and then the inner leaving a gap for turning, slip stitched closed and that’s it.
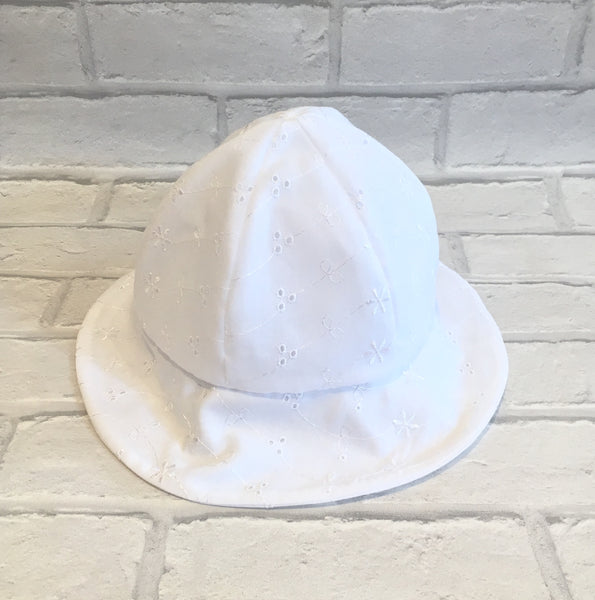
The bow was super quick. I don’t like slip stitching so I topstitched around to close the gap.

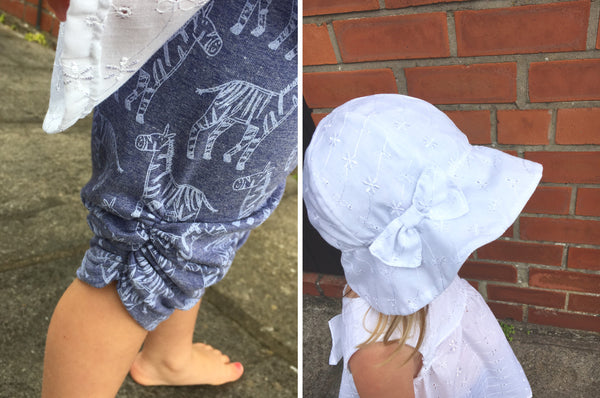
Onto the leggings. How hard can they be its 2 pieces of fabric haha. Well I could not get the ruched sides to work. How was I going to get 2 ½ inches of elastic to stretch that far.
I tried for hours but it just wouldn’t reach.
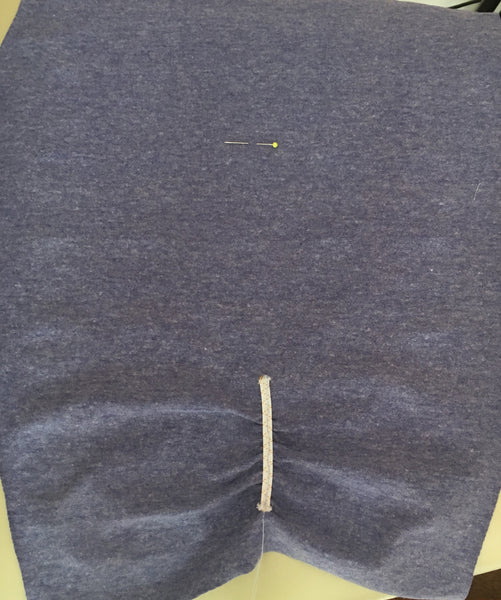
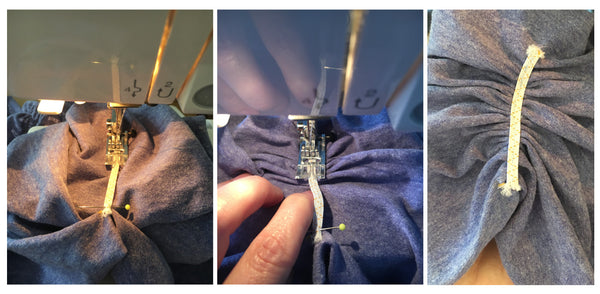
I decided to join the ends to where they needed to be and ruche the fabric at the same time as stretching the elastic. This seemed to give the desired look.
The bottom part of the dress was easy to put together. The pattern doesn’t tell you to finish off the seams but due to the type of fabric I overlocked the edges, a zigzag stitch would also work.
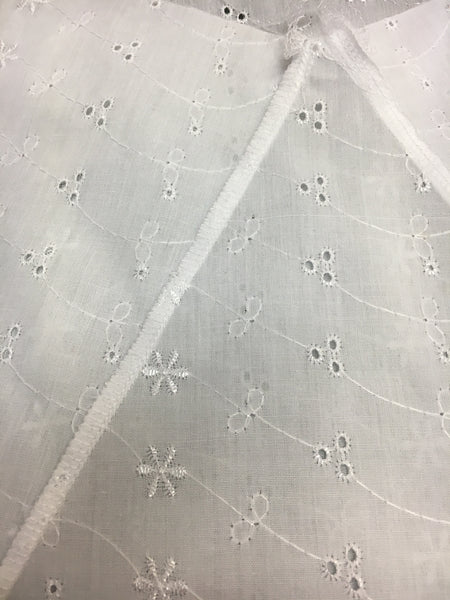
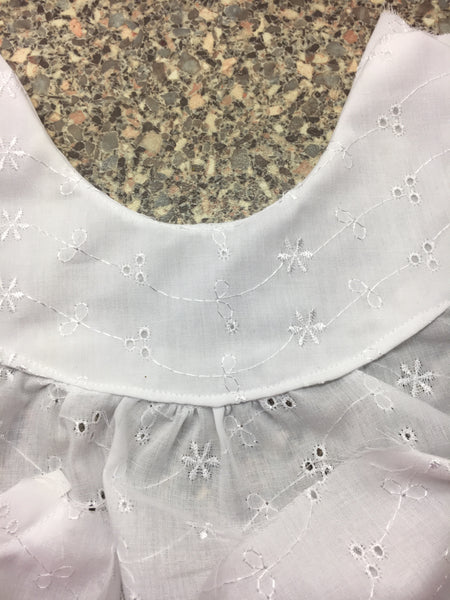
The top part is done in 3 sections, 1 for the front and 2 for the back. I like the way the lining folds under to cover the seam and create a professional finish.

It says to slip stitch the lining down but again because I don’t like it I topstitched it at ⅛ inch.
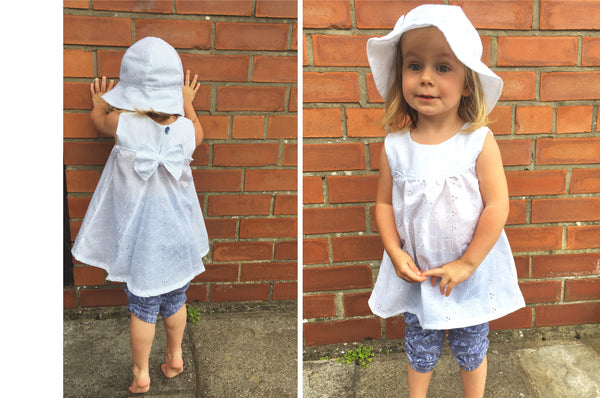
The 2 back pieces are attached in the same way. I did the bow for the dress the same way as for the hat.
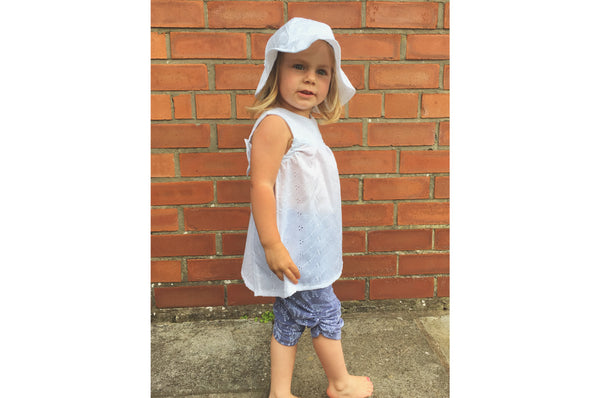
And here we go the finished items!